I have many childhood memories of me chasing down the ice cream truck to get my absolute favorite ice cream treat: a Chipwich. I mean, honestly, what more could you ask for in a dessert? Two chocolate chip cookies with ice cream sandwiched in between. Mmm.

So I was, well, horrified, to find out that the Chipwich brand name is no longer in existence as of 2007. At that time, Nestle bought the rights to the name and stopped all production because it competed with their “Chocolate Chip Cookie Sandwich.” I mean, come on. The name Chipwich is exponentially more catchy. But hey, whatever floats their boat.

Since finding out this information, I can’t get the idea of making my own Homemade Chipwiches or Chocolate Chip Cookie Sandwiches out of my head.

I was sent an Airbake cooking sheet recently and wanted to test it out. The Airbake Nonstick Insulated sheets are pretty snazzy. They are made of 100% aluminum and are comprised of two sheets surrounding a layer of air. This is said to reduce the temperature of the metal that actually comes in contact with the food which should result in more even baking. Airbake also claims that cookie bottoms won’t burn, win! (They also have natural sheets if you don’t want nonstick)

I decided to use a recipe from David Lebovitz for Salted Butter Chocolate Chip Cookies because the only way I can think to enhance my homemade chipwiches would be to add a little salt to bring out the flavor.

Ingredients (makes about 12 hand-sized chipwiches, make cookies larger if desired):
- 4 ounces salted butter, at room temperature
- 2/3 cup packed light brown sugar
- 1/2 cup granulated sugar
- 1 large egg, at room temperature
- 1/2 teaspoon vanilla extract
- 1 1/3 cup flour
- 1/2 teaspoon baking soda
- 1/2 teaspoon flaky sea salt or kosher salt
- 1 1/3 cups semisweet chocolate chips
- 1 pint vanilla ice cream (or your favorite ice cream)
- Mini chocolate chips, for decorating (optional)

I always forget to bring my butter to room temperature. So when I was ready to bake, I took everything out and then had to wait. Which stunk. I maybe lasted 30 minutes before breaking down and starting so I ended up with “partially brought to room temperature” butter and egg. It was just fine.
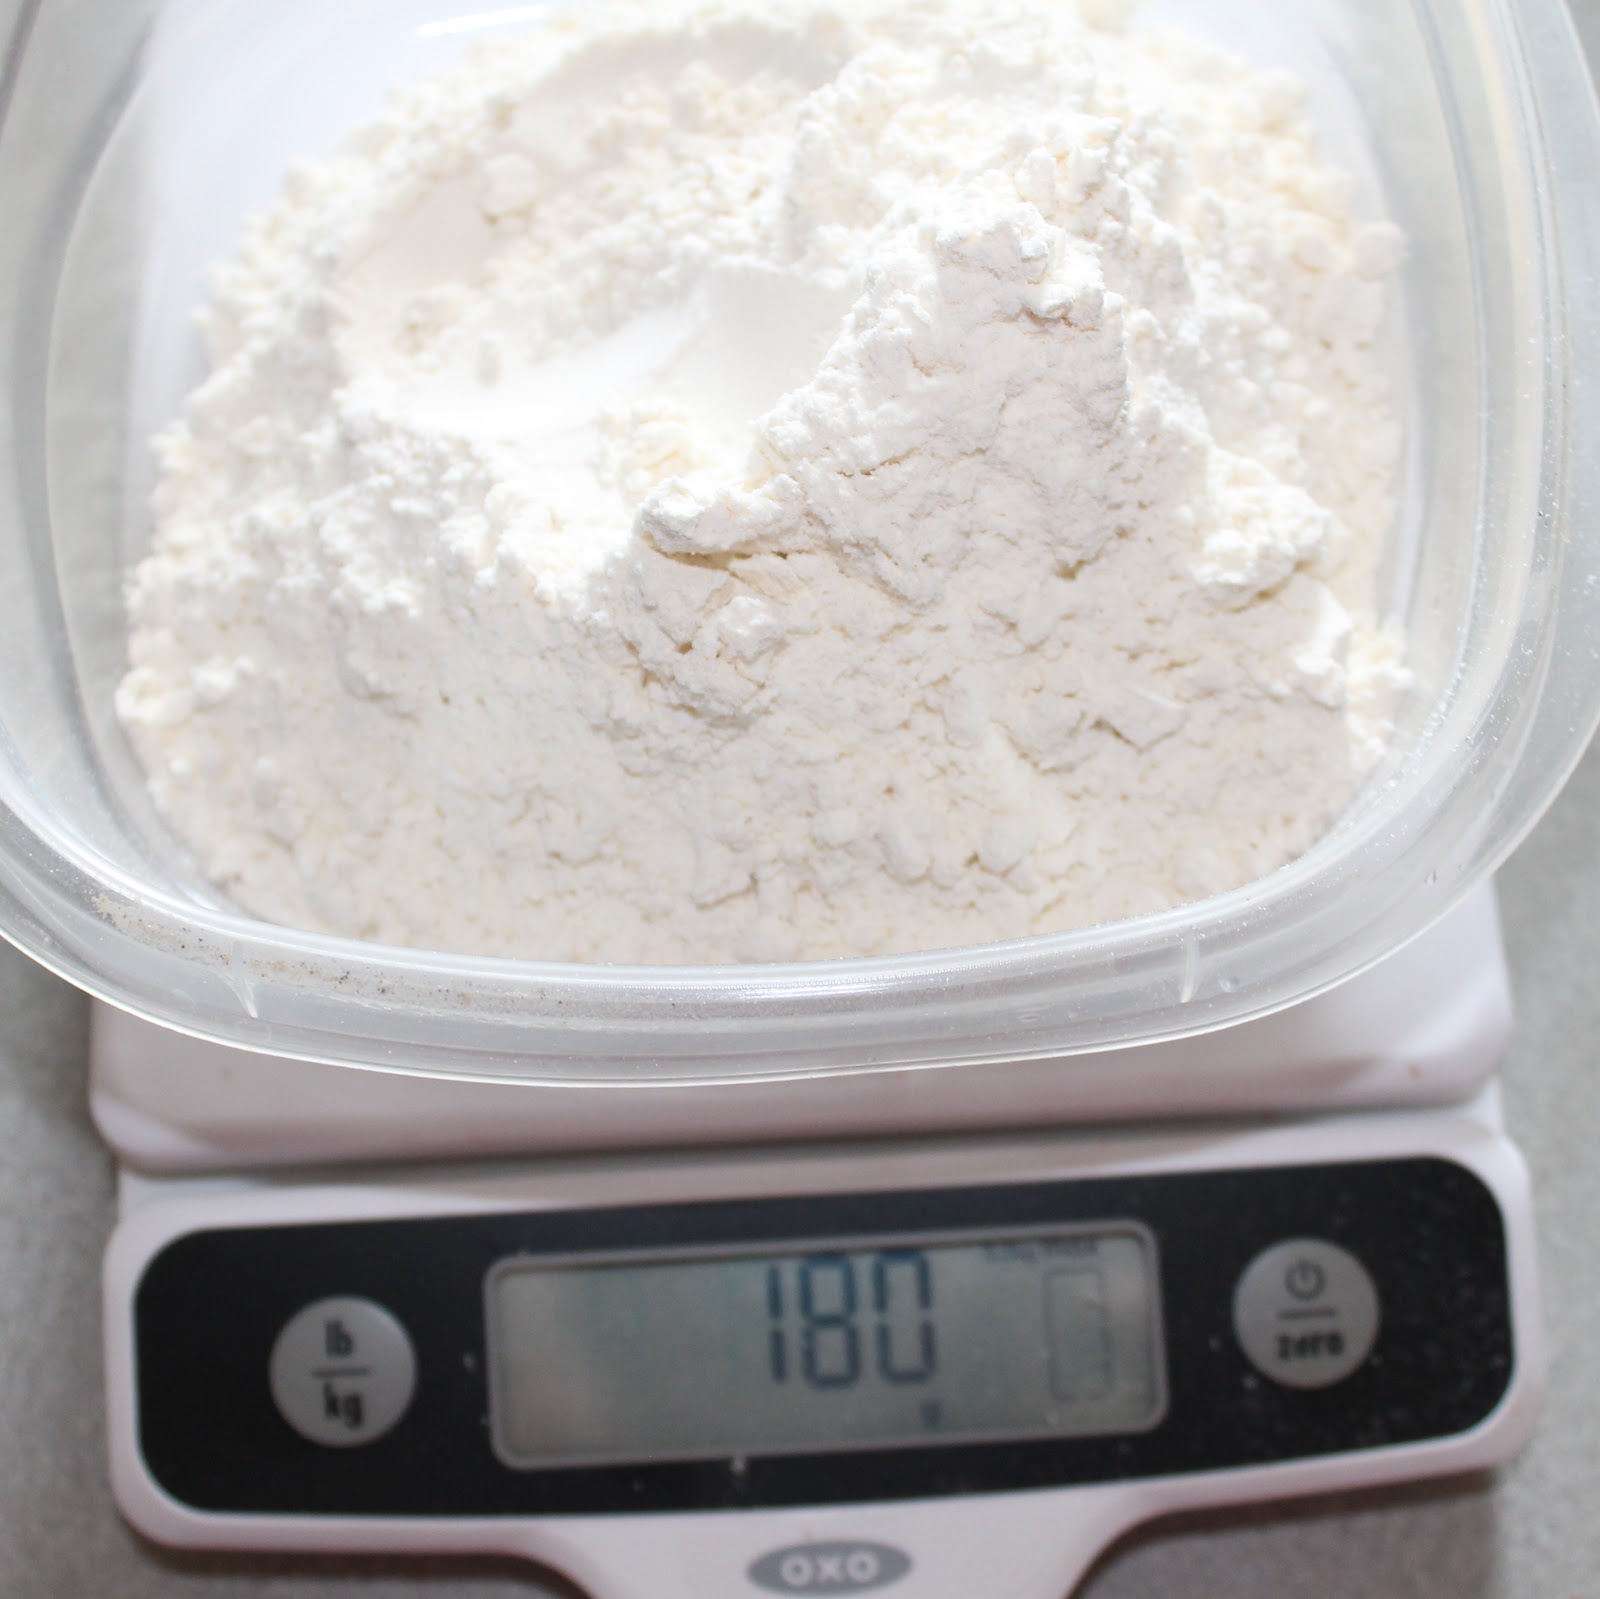
To pass the time, I prepared my ingredients. If you have a food scale, baking is the best time to make use of it. When possible, I try to use the weights given for flour and the like. I also weighed out my chocolate because I didn’t have nearly as much dark chocolate as I thought I did! So I had to use some semi sweet chocolate chips to get enough for the recipe. I also combined my sugars together while waiting for the butter to soften.

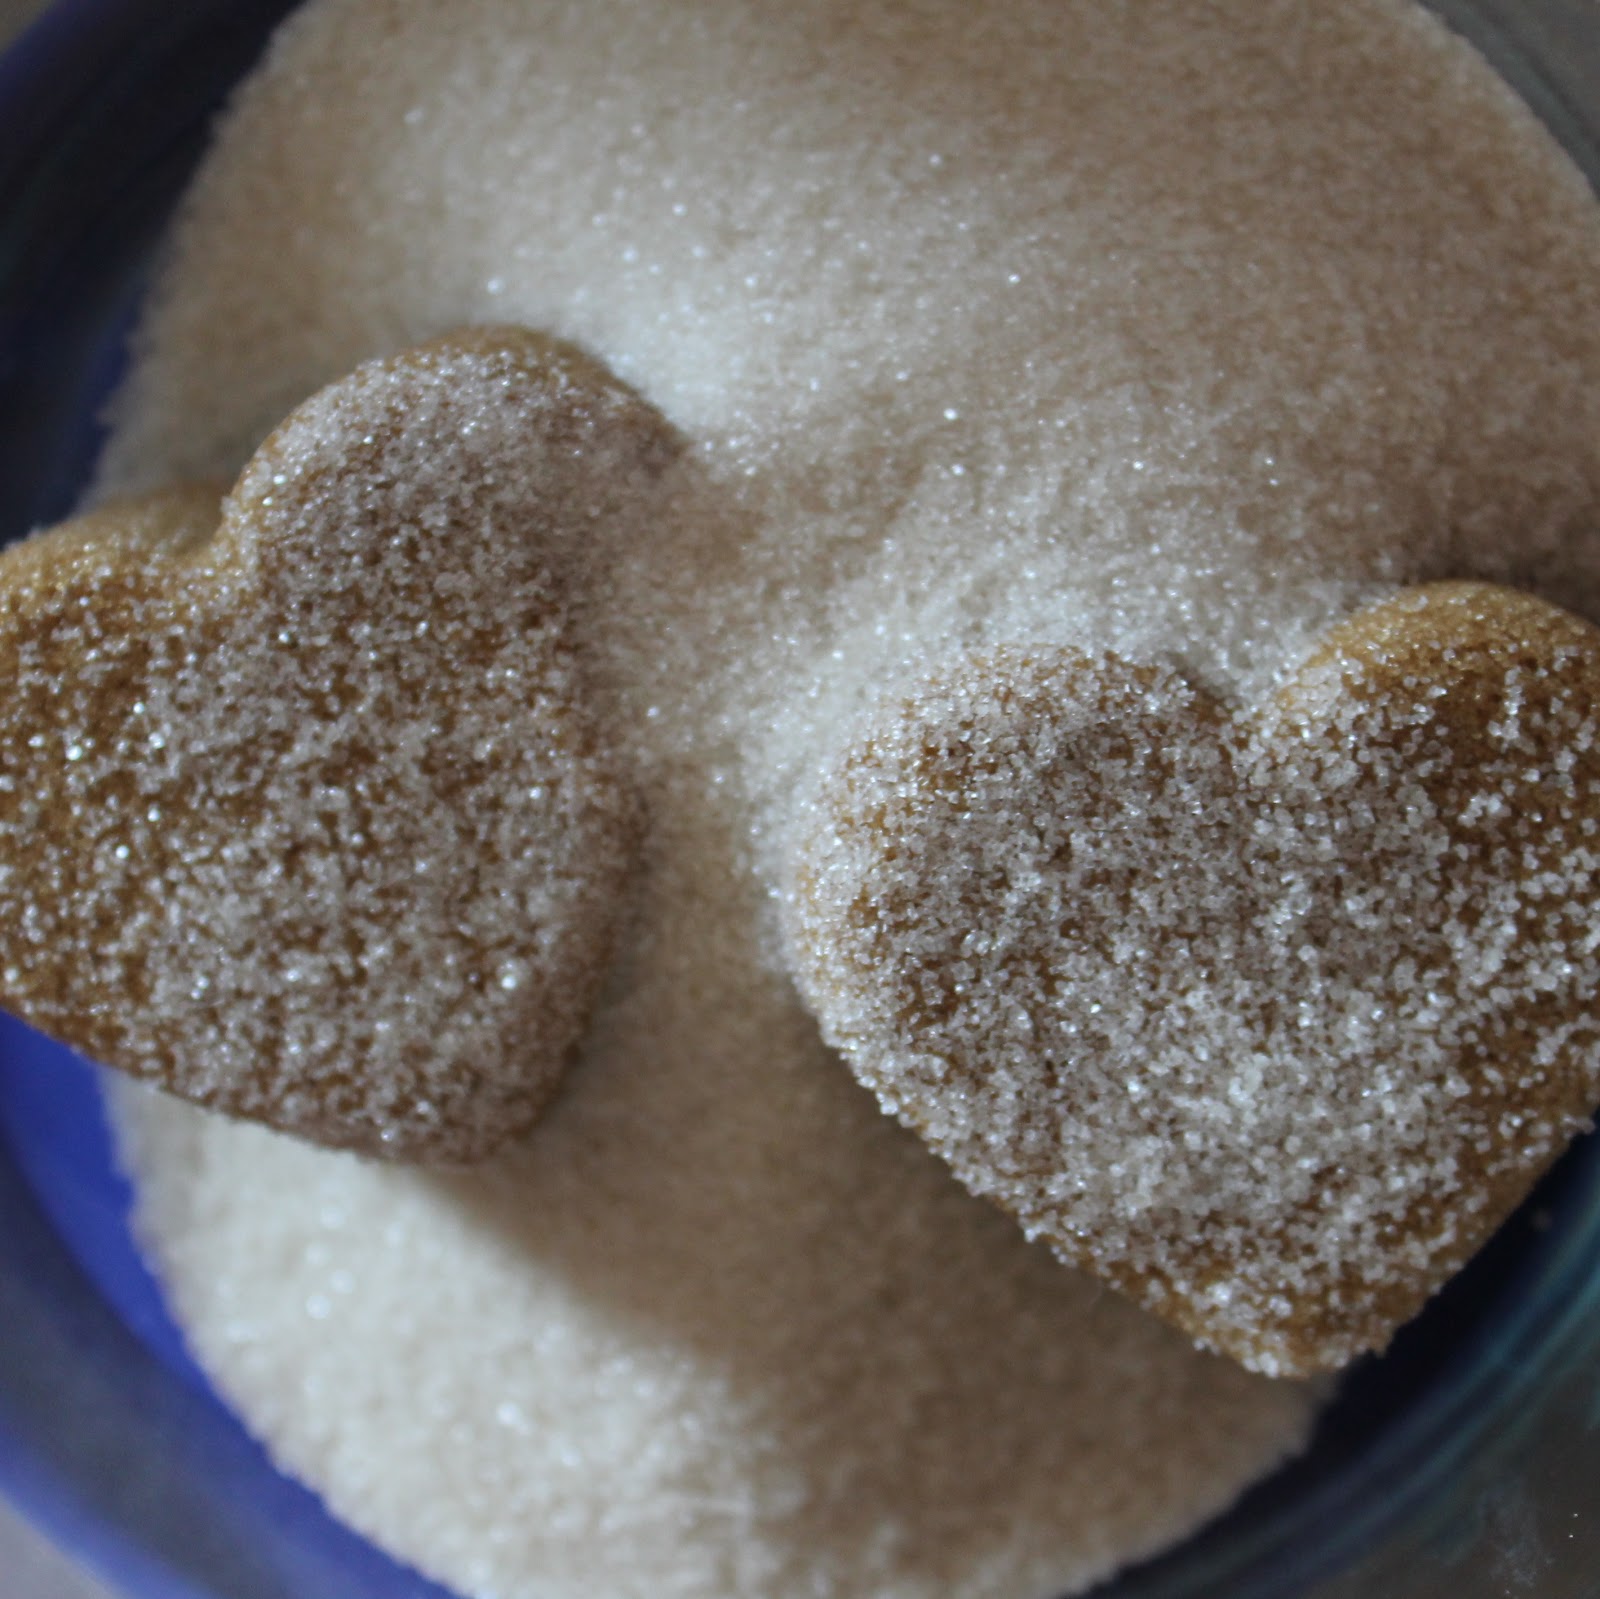 |
| Ingredients: Brown Sugar, Granulated Sugar, and a little Love |
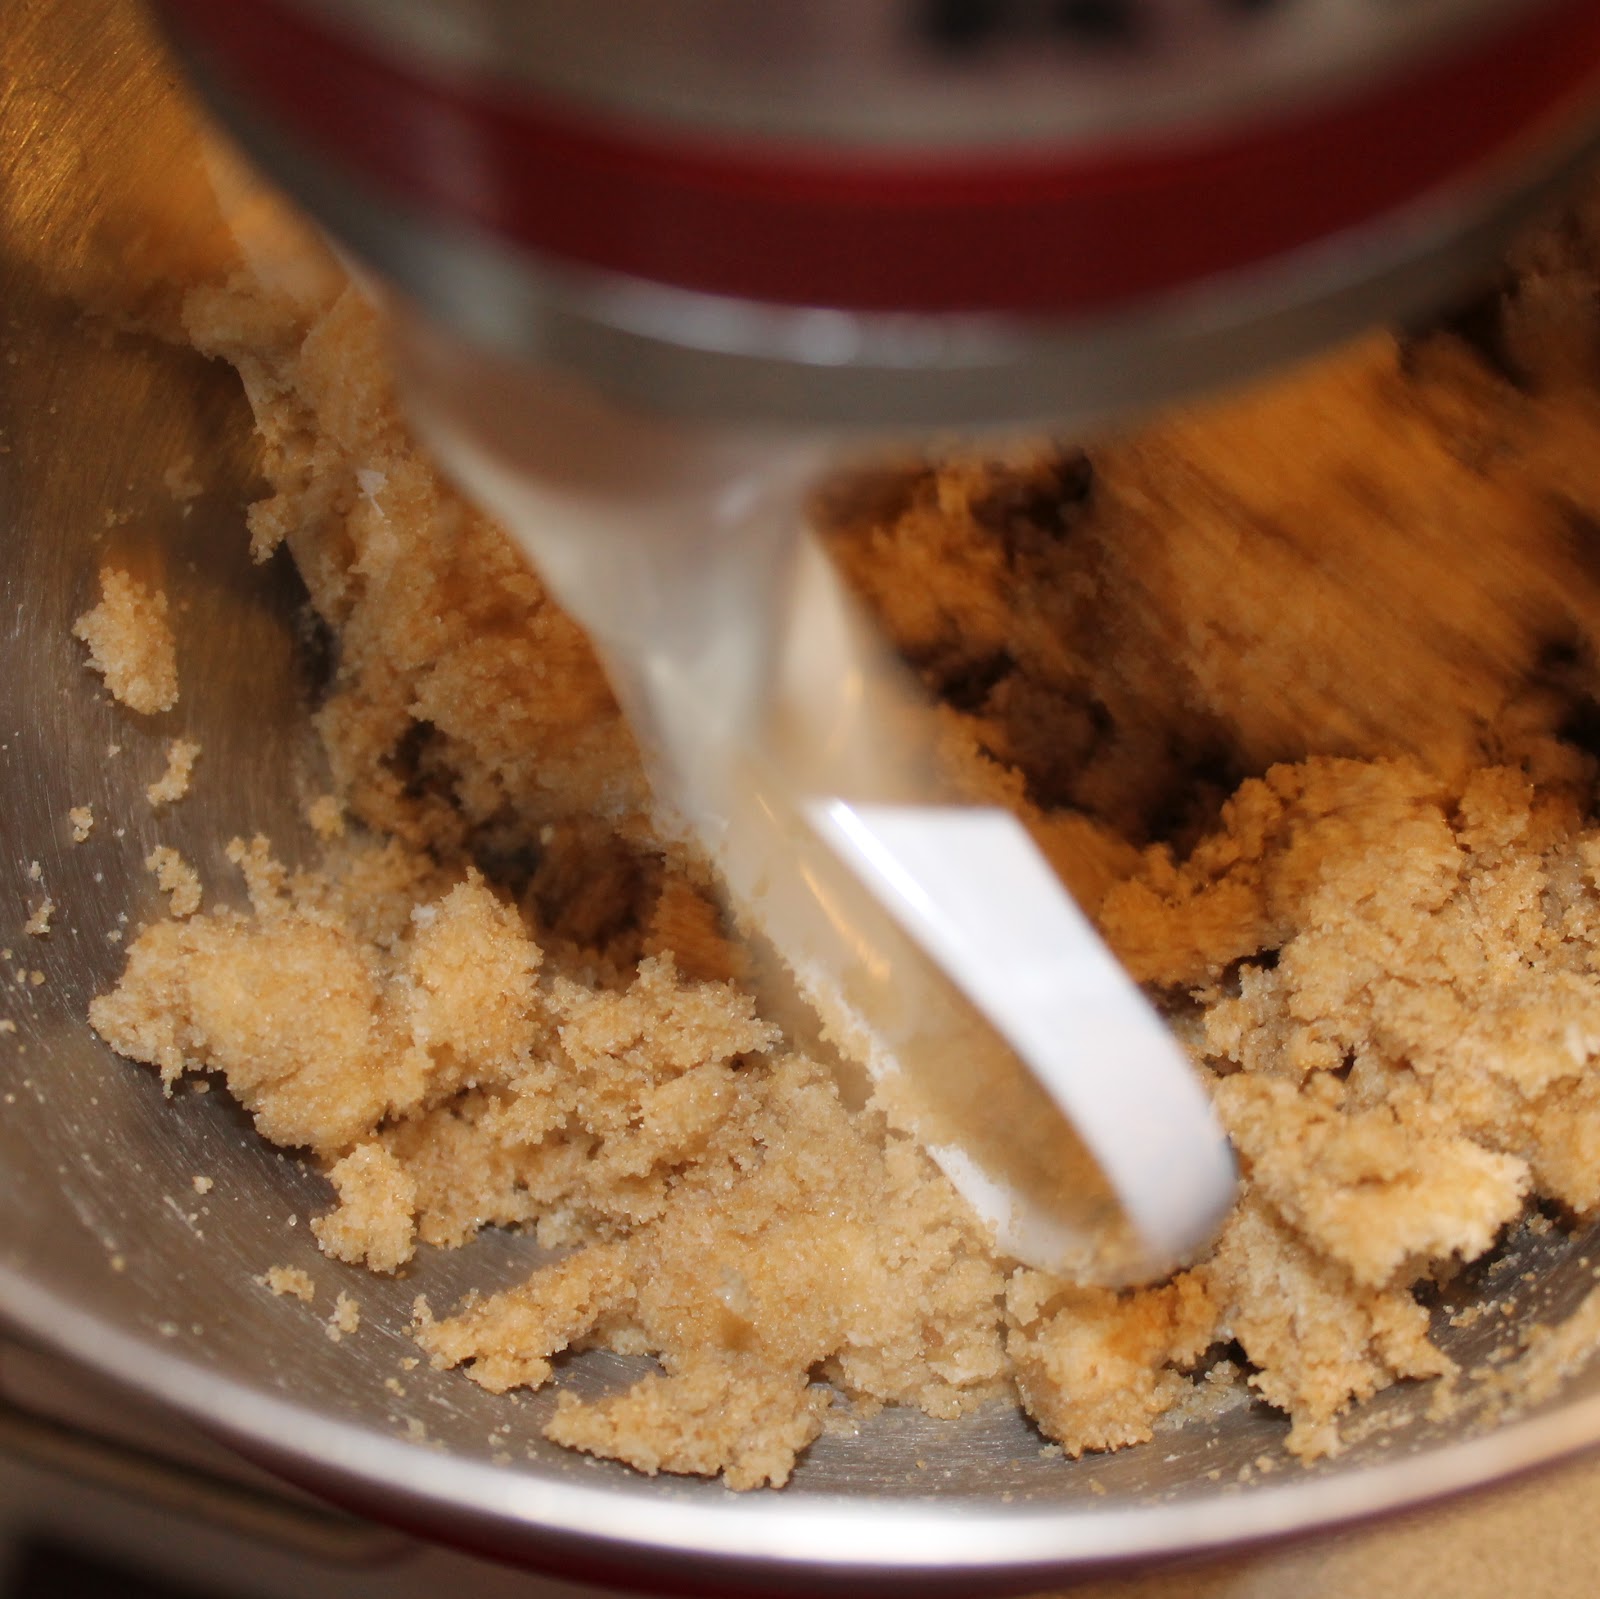
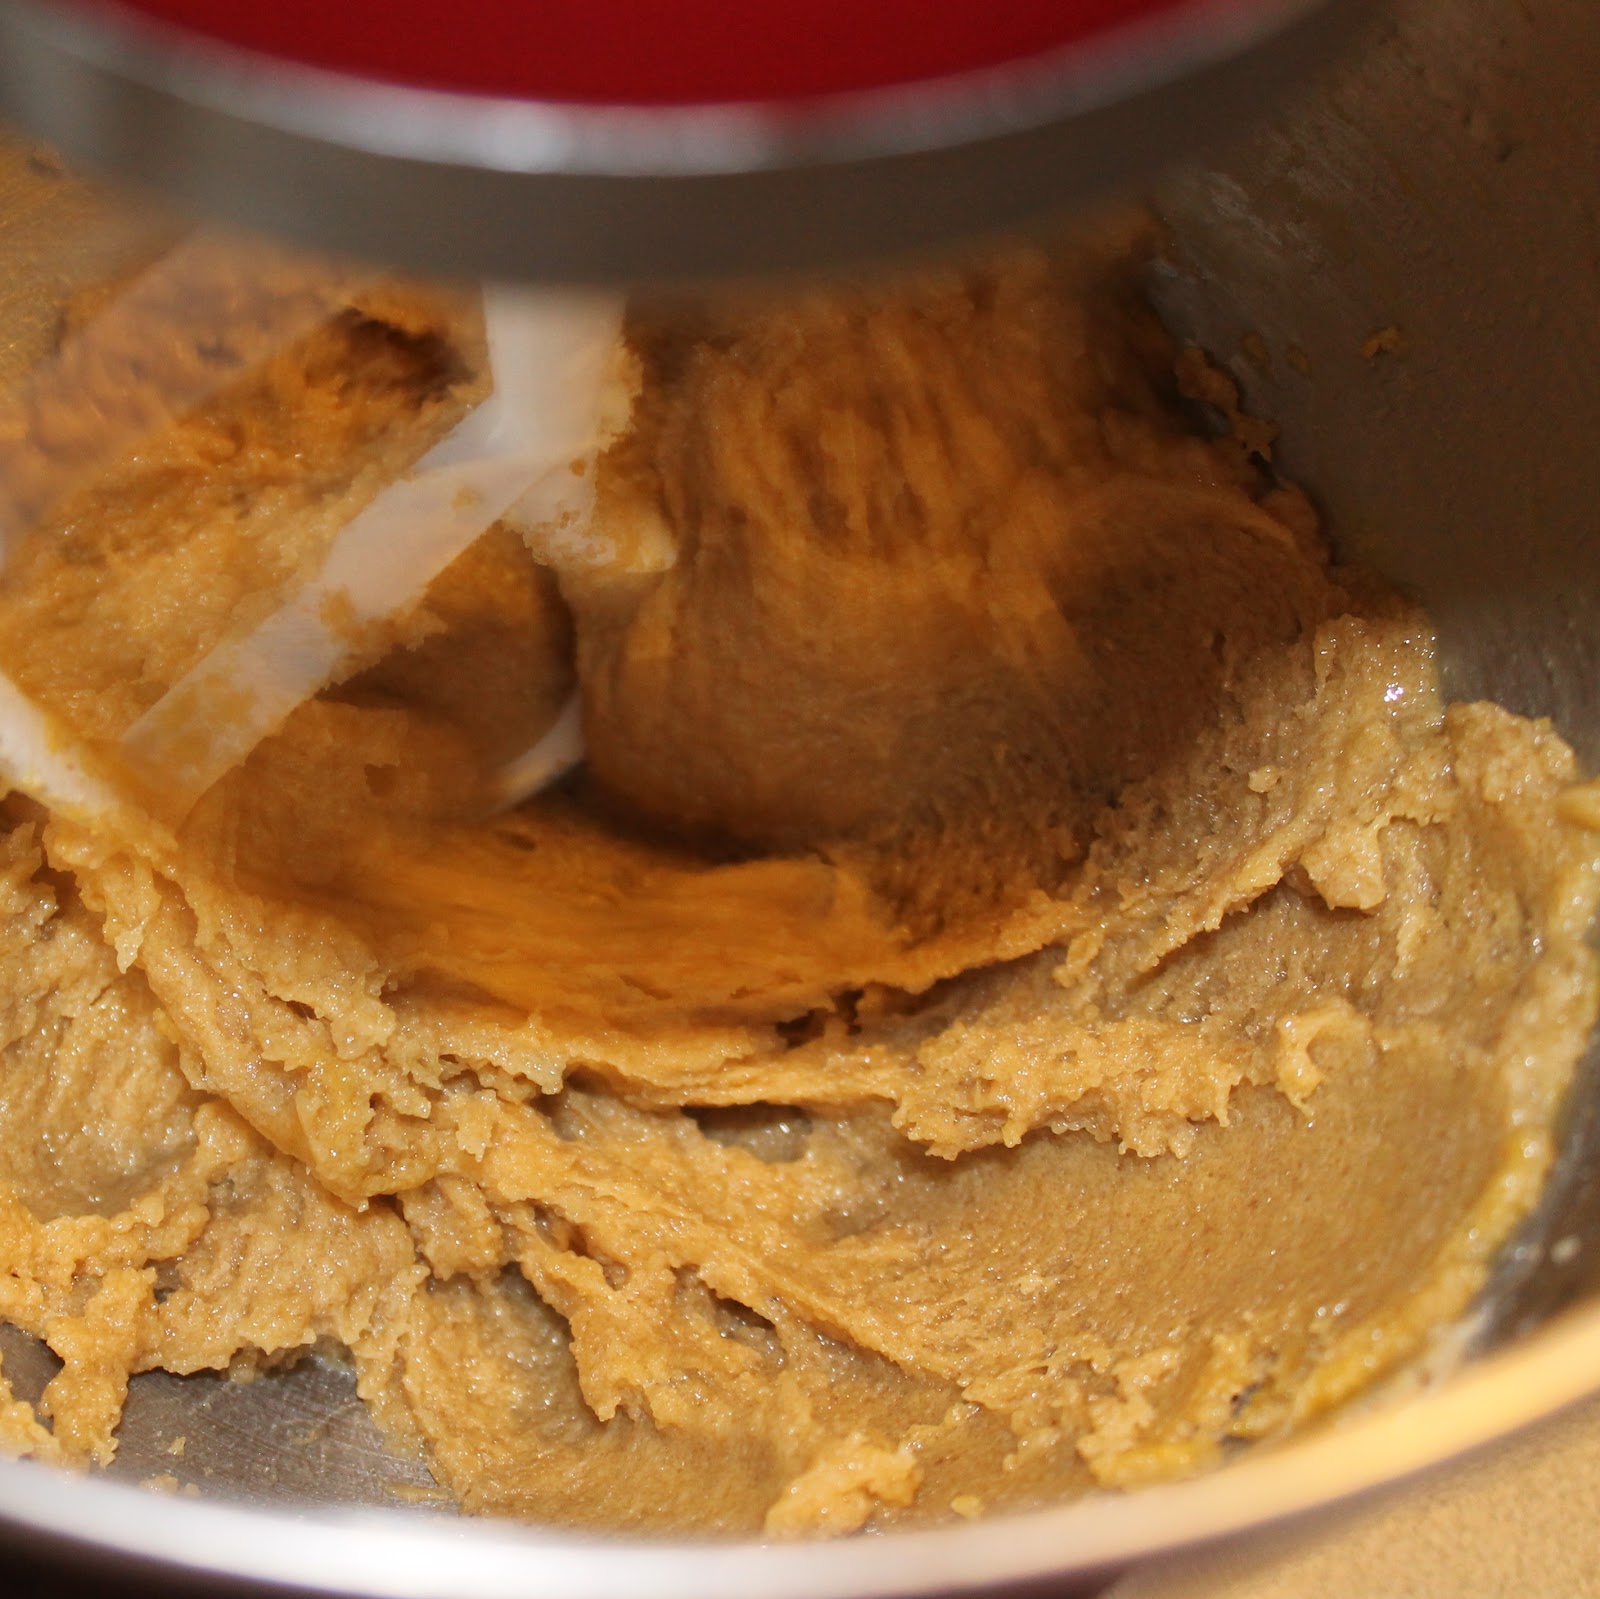
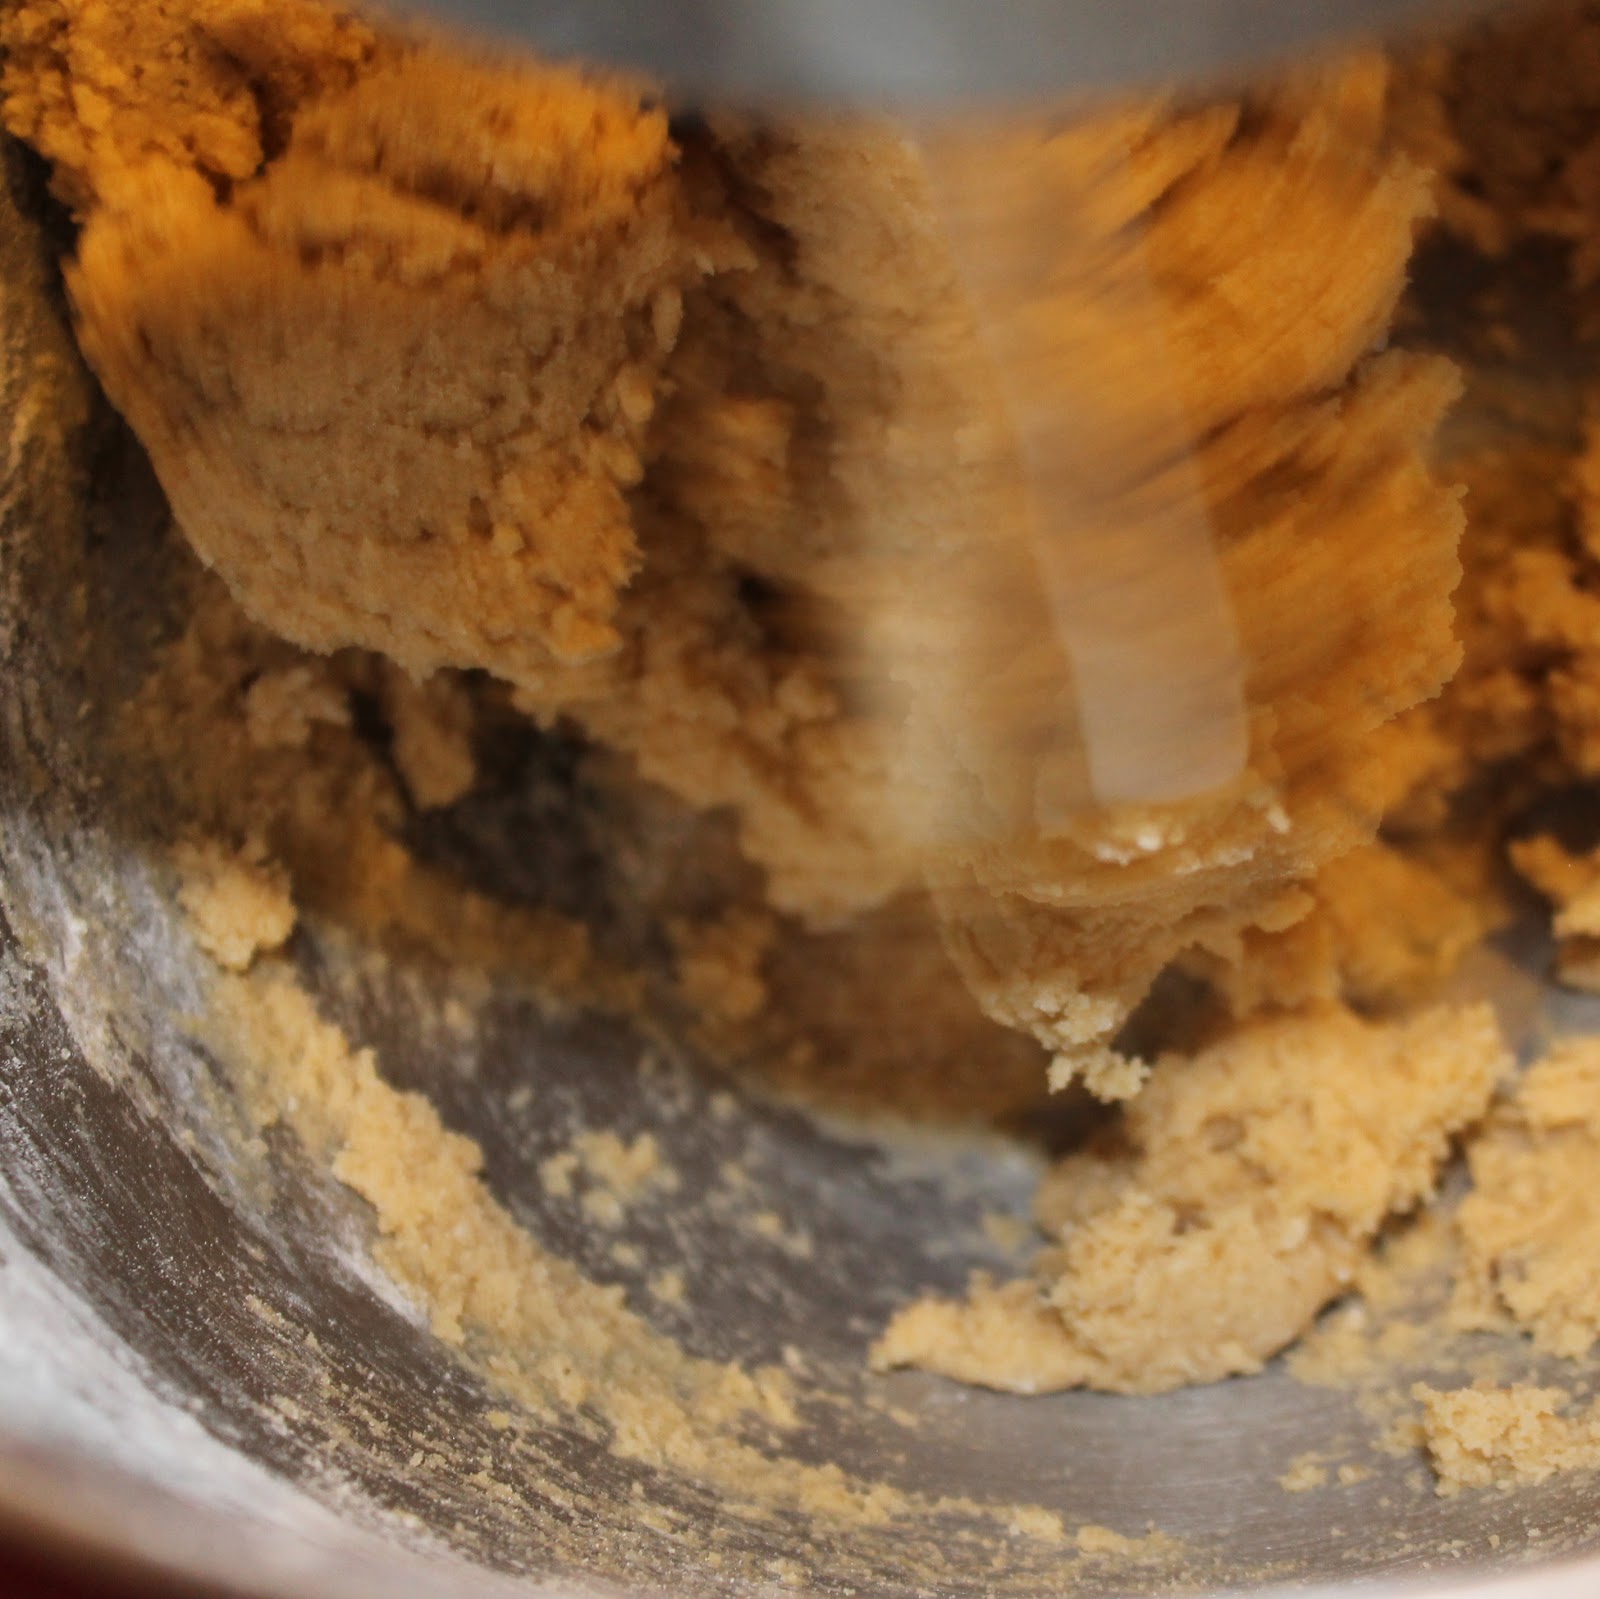
Beat the butter, brown sugar, and granulated sugar until smooth.
Add the egg and vanilla and stir to combine.
In a separate bowl, whisk the flour, baking soda, and salt.

Stir the flour mixture into the butter mixture until combined.
Fold in the chocolate chips.

Cover and chill the batter overnight. (I thought I completely ruined the cookie dough when I brought it out for baking the next day. It is super hard and crumbly. But that is perfect. You apparently want that.) When ready to bake, remove the dough from the fridge and let sit for 30 minutes.

After 30 minutes, preheat your oven to 350 degrees. If you aren’t using the Airbake pans, line your baking sheets with parchment paper or silicone baking mats. Form the cookie dough into rounds about the size of ping pong ball, maybe slightly bigger. You can also use a cookie scoop (paid link) to get uniform cookies.

Place the balls evenly spaced out on the baking sheets.

Sprinkle with a pinch of salt over each cookie (optional).

Bake the cookies for 13 to 15 minutes, rotating the baking sheet half way through the baking time. Bake until the tops of the cookies are just turning a light golden brown.

Remove from the oven and allow to completely cool, about 30 minutes.
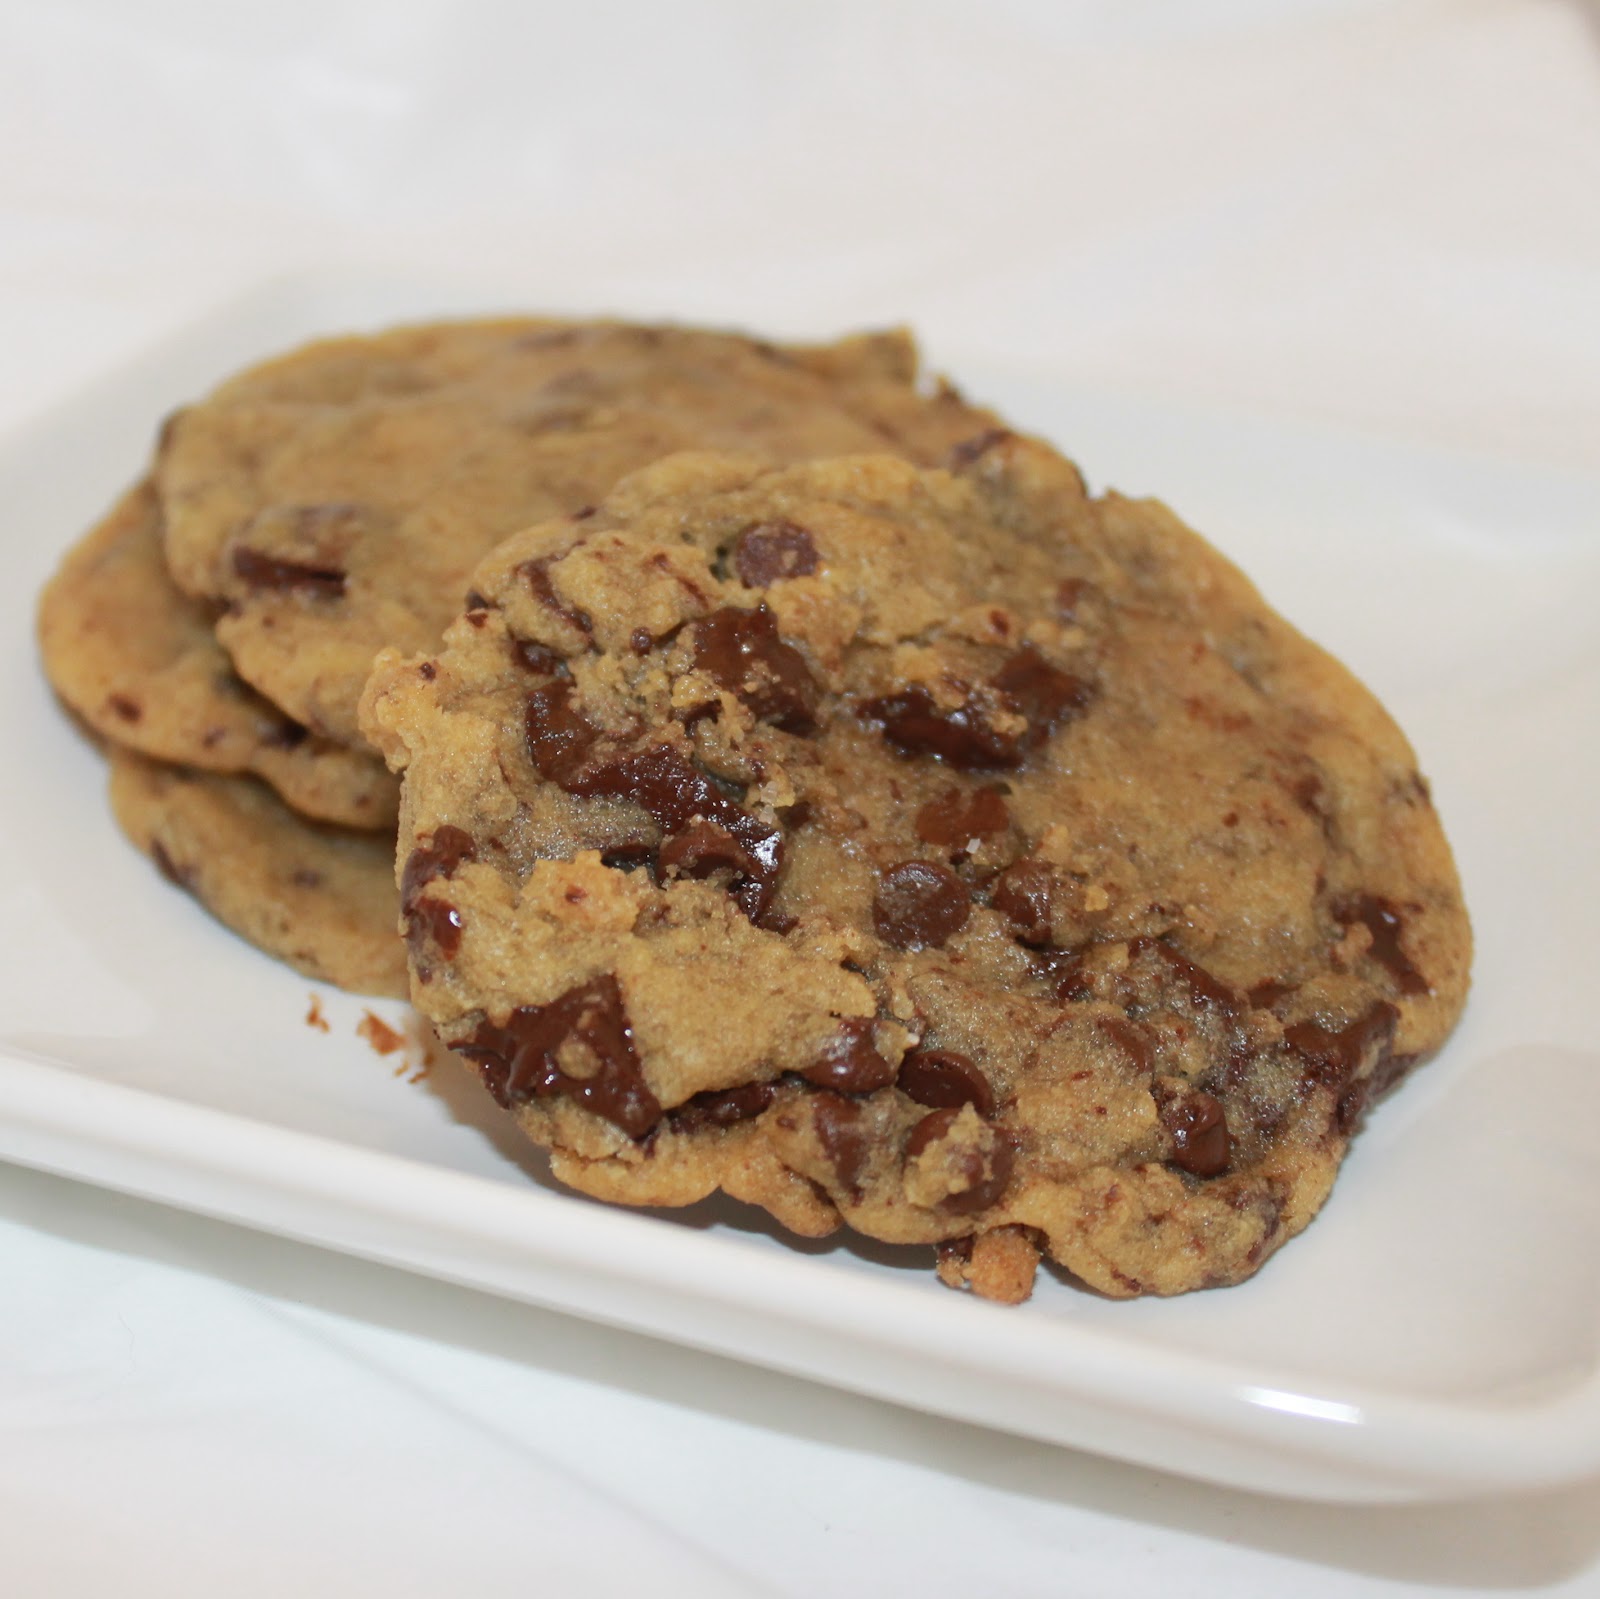
If you just stopped here and ate all of the cookies, I wouldn’t judge you. But good things come to those who wait..
While waiting for your cookies to cool, take your pint of ice cream and place on a cutting board. Using a sharp knife, slice the pint into ~1/2 inch slices.


Peel off the carton and add the slices to a cookie sheet; place in the freezer until you’re ready to assemble.

To make the Chipwich, try to couple up your cookies so that they are with like-sized cookies.

Place one chocolate chip cookie on a plate upside down. Add a slice of the ice cream and top with another chocolate chip cookie.


Roll the Chipwich in some of the chocolate chips.

Freeze the assembled Chipwiches for 10 minutes before serving.
Sorry Chipwich, I think I’ve outdone you. The salt in the chocolate chip cookies makes these some of the best ice cream sandwiches I’ve ever had!

These are customizable to your liking. Use white chocolate chips, nuts, or raisins if you so wish. Change around the ice cream flavors. Maybe even cook larger cookies and make bigger Chipwiches. Go crazy!

The Airbake sheet, by the way, went above and beyond my expectations. The cookies were chewy, evenly cooked, and not one was burnt on the bottom! Until I learned the secret of parchment paper, I literally burned the bottom of like 8 out of every 10 cookies I ever made. I’m so excited this product works!
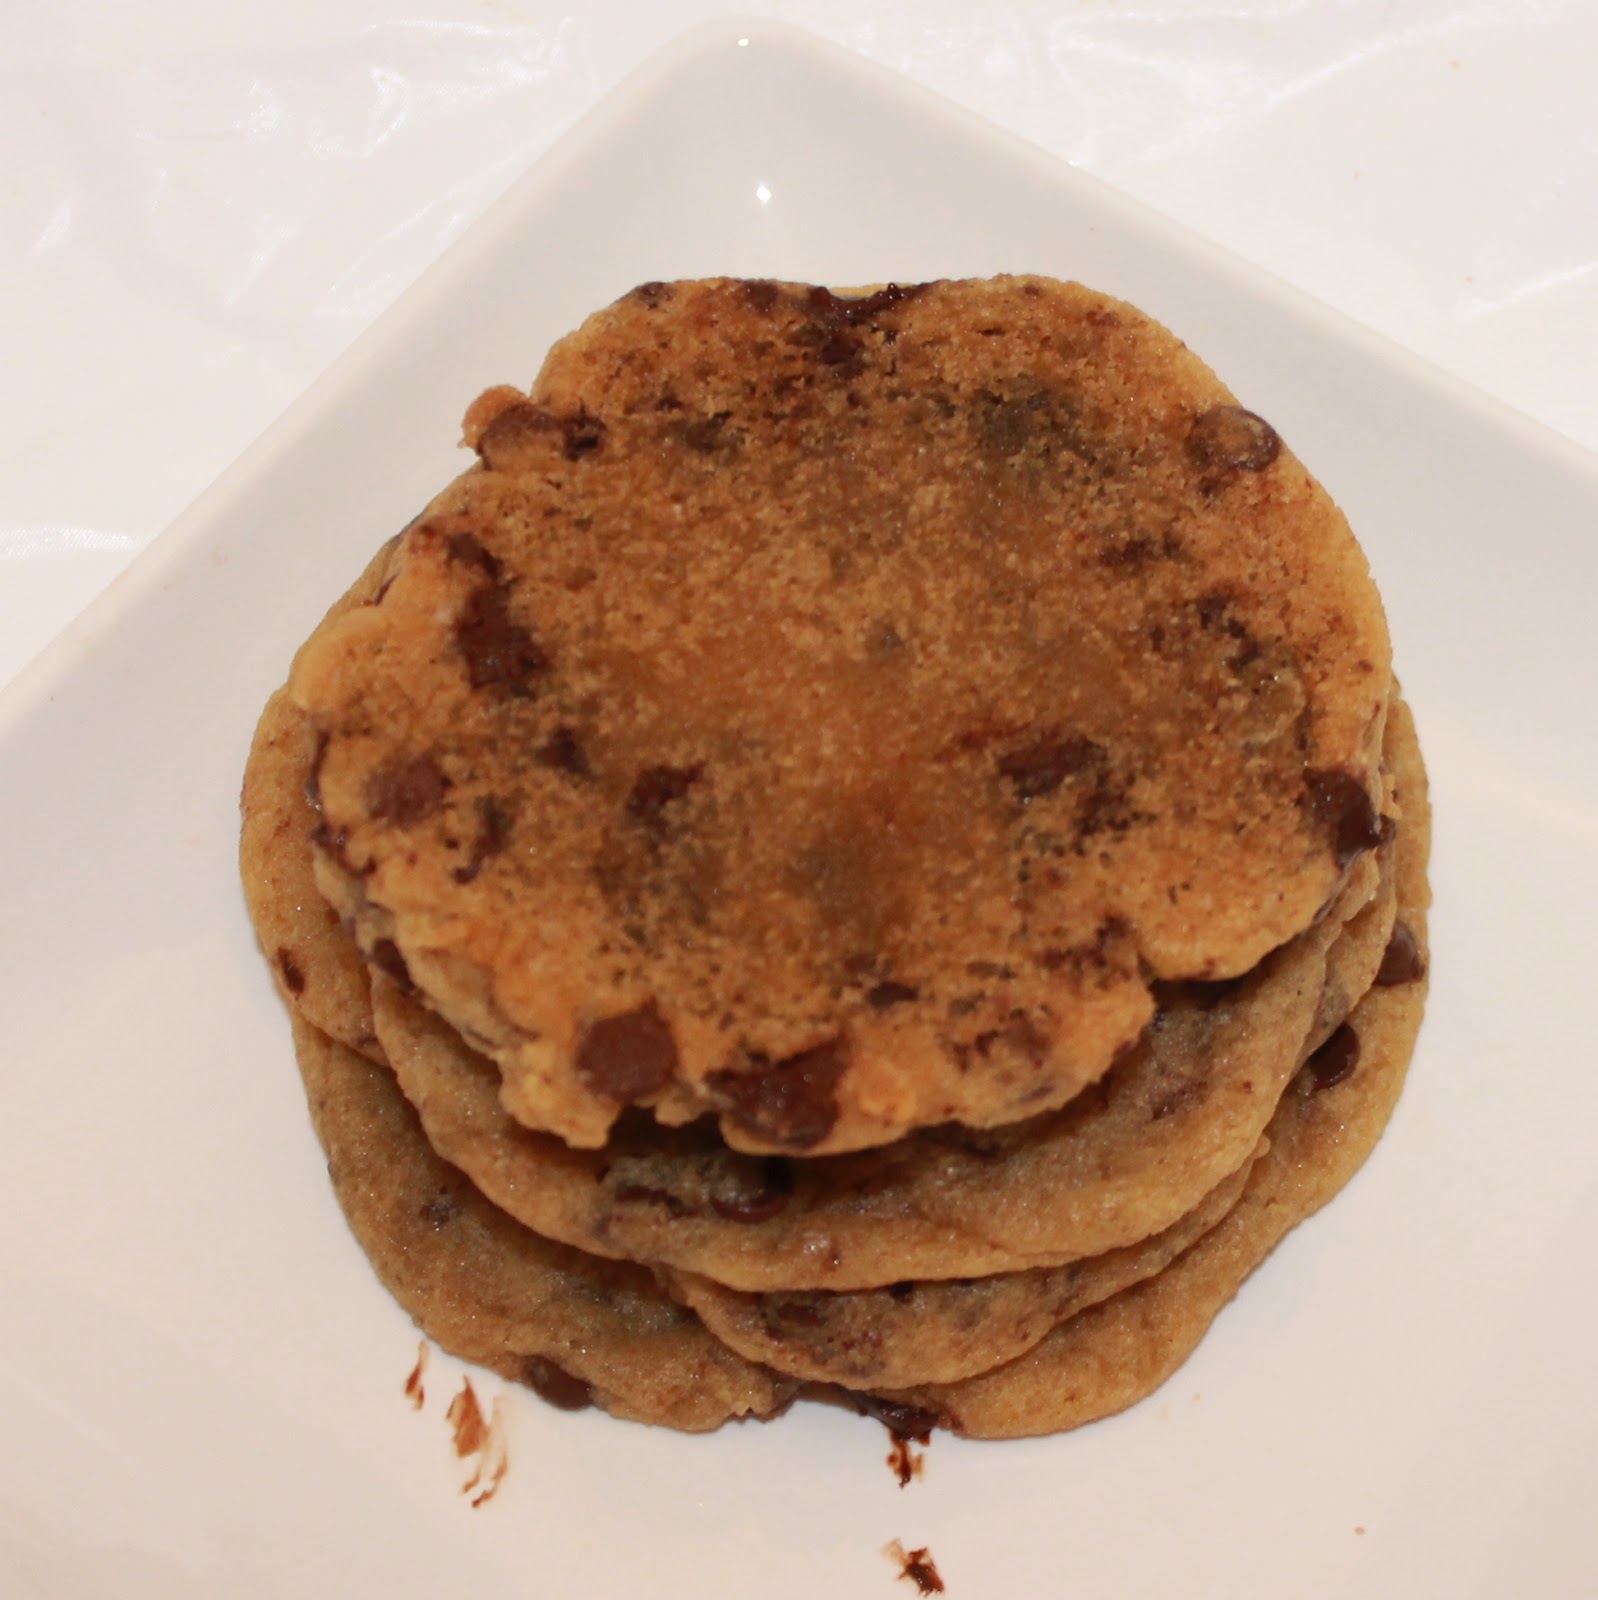 |
| Not one burnt cookie bottom! |
Homemade Chipwiches

Ingredients
- 4 ounces salted butter, at room temperature
- 2/3 cup packed light brown sugar
- 1/2 cup granulated sugar
- 1 large egg, at room temperature
- 1/2 teaspoon vanilla extract
- 1 1/3 cup flour
- 1/2 teaspoon baking soda
- 1/2 teaspoon flaky sea salt or kosher salt
- 1 1/3 cups semisweet chocolate chips
- 1 pint vanilla ice cream (or your favorite ice cream)
- Mini chocolate chips, for decorating (optional)
Instructions
- Beat the butter, brown sugar, and granulated sugar until smooth.
- Add the egg and vanilla and stir to combine.
- In a separate bowl, whisk the flour, baking soda, and salt.
- Stir the flour mixture into the butter mixture until combined.
- Fold in the chocolate chips.
- Cover and chill the batter overnight. (I thought I completely ruined the cookie dough when I brought it out for baking the next day. It is super hard and crumbly. But that is perfect. You apparently want that.) When ready to bake, remove the dough from the fridge and let sit for 30 minutes.
- After 30 minutes, preheat your oven to 350 degrees. If you aren’t using the Airbake pans, line your baking sheets with parchment paper or silicone baking mats. Form the cookie dough into rounds about the size of ping pong ball, maybe slightly bigger. You can also use a cookie scoop (paid link) to get uniform cookies.
- Place the balls evenly spaced out on the baking sheets.
- Sprinkle with a pinch of salt over each cookie (optional).
- Bake the cookies for 13 to 15 minutes, rotating the baking sheet half way through the baking time. Bake until the tops of the cookies are just turning a light golden brown.
- Remove from the oven and allow to completely cool, about 30 minutes.
- If you just stopped here and ate all of the cookies, I wouldn’t judge you. But good things come to those who wait..
- While waiting for your cookies to cool, take your pint of ice cream and place on a cutting board. Using a sharp knife, slice the pint into ~1/2 inch slices.
- Peel off the carton and add the slices to a cookie sheet; place in the freezer until you’re ready to assemble.
- To make the Chipwich, try to couple up your cookies so that they are with like-sized cookies.
- Place one chocolate chip cookie on a plate upside down. Add a slice of the ice cream and top with another chocolate chip cookie.
- Roll the Chipwich in some of the chocolate chips.
- Freeze the assembled Chipwiches for 10 minutes before serving.
Schema/Recipe SEO Data Markup by Yummly Rich Recipes
https://icancookthat.org/2012/05/homemade-chipwiches.html


Ever heard of an It’s-It? Very similar to a Chipwhich. Ice cream sandwiched between 2 oatmeal cookies but the chief difference is that an It’s-It is covered in a layer of chocolate. Unfortunately, they only sell them west of the Rockies, but if you are ever out in the San Francisco Bay Area, they sell them at the chain supermarkets…
These are one of my husband’s favorite treats. I can’t remember the last time I made them though, it has to have been YEARS!! He would love it if I surprised him with these!
Chipwiches?! It’s going to be a thing, i swear!
Wow, this looks so good. I would love one, like, right now… Yum. I think PB cookies would be awesome with this too!
Haha I was obsessed with those nestle cookie sandwiches as a kid! That and Choco Tacos…Mmm…! I’ve never heard of chipwiches? Thats adorable! And these look awesome! Such a childhood fave!
Oh goodness, these are just heavenly! Those pans sound pretty cool too!
All I can say is Mmmmm 🙂
These look pretty perfect I’m not gonna lie!
The cookies themselves look fantastic. Great chipwich! I definitely like that name better 🙂
This used to be my childhood favorite! So glad I can recreate it at home 🙂